Isn’t it amazing how we rationalize these things?
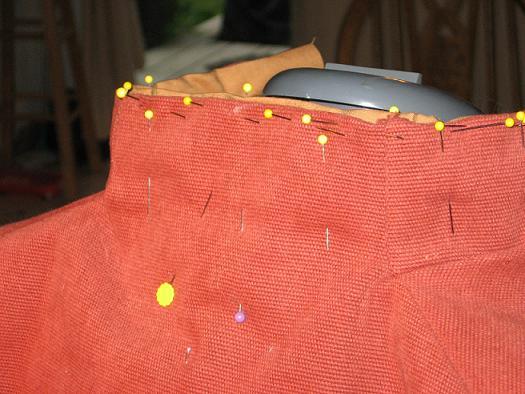
So anyway, on to quilting the collar. I cut a double-thickness of Warm & Natural quilt batting using the pattern I showed awhile back and eased it, the lining and a band of trim that sticks out an even width all the way around into the existing collar 'stub'. It wasn't easy pinning all that thickness into place, but I prevailed.
This is what it looks like with all that pinned together…
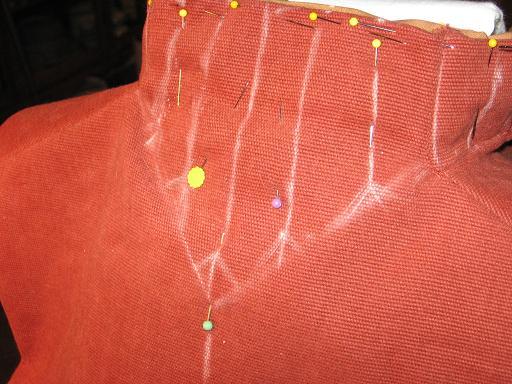
With the quilting lines marked out in chalk…
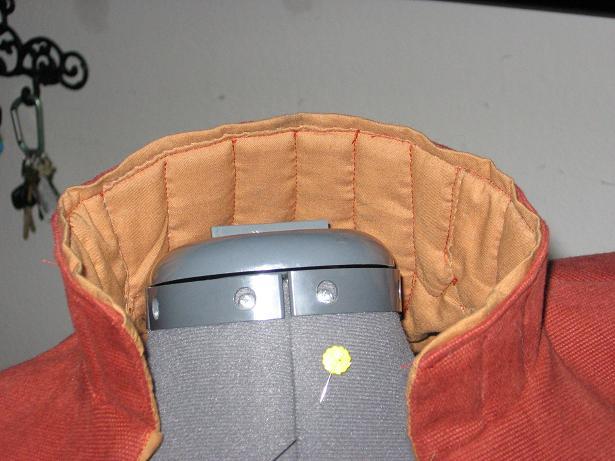
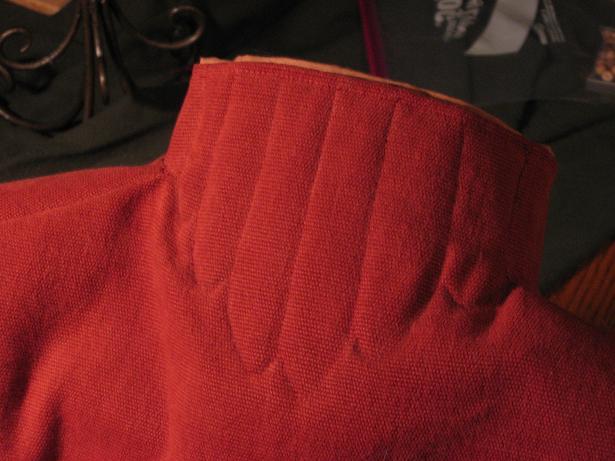
And the quilted finished collar…

Phew!
The machine quilting wasn't too terrible an experience. I think that some hand quilting might even be somewhere in my future, perhaps even trapunto ( which is quilting where you sew the quilt-lines first and then stuff them with fibers such as yarn ). We shall see how I feel once I've experimented a bit more with it.
Stay tuned for the next in my series of begginers tips!
No comments:
Post a Comment